
Creating an audition recording can feel like navigating a musical labyrinth. From setting up equipment to ensuring the sound is just right, the technical aspects often overshadow the actual performance. But what if those technical hurdles could be minimized, allowing you to focus wholly on your music? Welcome to the world of music recording hacks that can elevate your audition tapes from amateur to professional. Here at TakeStage, we understand your challenges and are here to guide you through recording your best audition yet.
Whether you’re a high school musician aiming for college admission, a seasoned performer preparing for a conservatory, or a vocal artist ready to take the stage at a competition, these tips will help you showcase your talent without the stress of technical mishaps. Let’s dive into these essential recording hacks that can make a real difference in your audition experience.
Choose the Right Space
The room where you record is just as important as the instrument you play. Acoustics can make or break a recording, so it’s crucial to select a space that complements your sound.
- Quiet is Key: Choose a room with minimal background noise. Avoid spaces with loud air conditioning or street sounds.
- Size Matters: A medium-sized room with some soft furnishings (like curtains and carpets) can help absorb excess sound, reducing echo.
- Test Your Space: Clap your hands and listen for echoes. The less echo, the better the room for recording.
By selecting the right space, you’ll ensure that your performance is captured with clarity and precision.
Equip Yourself for Success
While professional gear can enhance your recording quality, you don’t need to break the bank to get good results. Here are some essentials:
- Microphone: A decent external microphone can significantly improve sound quality. USB mics are a good starting point for most musicians.
- Camera: Your smartphone can often suffice for video recording, especially if you focus on lighting and stability.
- Stand: Use a tripod or a steady surface to avoid shaky videos.
Invest in these basics to ensure your recordings are clear and professional.
Lighting: Your Silent Partner
Lighting is often overlooked but plays a pivotal role in video quality. Here’s how to get it right:
- Natural Lighting: If possible, record during the day using natural light. Position yourself so that the light hits you from the front or side.
- Supplementary Lighting: Use lamps to fill in shadows. Soft, diffused light works best to avoid harsh shadows.
- Avoid Backlighting: Ensure the main light source is not behind you to prevent silhouette effects.
With the right lighting, your video will have a professional look, making your performance the star of the show.
Performing with Confidence
When you press record, remember that confidence is key. Here are a few tips to help you perform at your best:
- Warm-Up: Just like a live performance, a good warm-up is essential to prevent strain and enhance performance.
- Mental Preparation: Visualize a successful performance. Take deep breaths to calm nerves before you start.
- Multiple Takes: Don’t stress if you don’t get it right the first time. Having multiple takes can help you choose the best one.
Confidence shines through in recordings, so take the time to prepare mentally and physically.
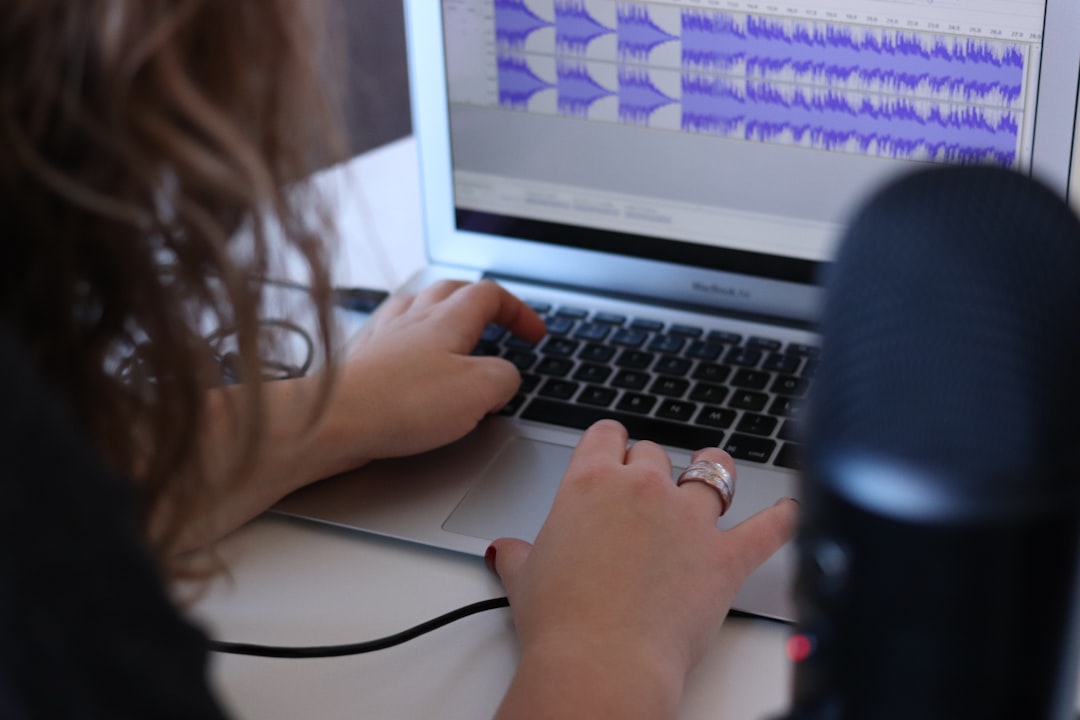
Editing: Fine-Tuning Your Masterpiece
Once you have your recording, it’s time to polish it. Editing can help you correct minor issues and enhance the overall quality.
- Audio Sync: Ensure that audio and video are synced perfectly. This maintains the integrity of your performance.
- Basic Edits: Trim the start and end to remove unnecessary footage. Adjusting volume levels can also help.
- Keep It Natural: Avoid over-editing. The goal is to present an authentic representation of your skills.
Effective editing ensures that your final product is a true reflection of your talent.
Review and Reflect
Before you submit your recording, take time to review it critically. Ask yourself:
- Does the video showcase my skills effectively?
- Is the audio clear and balanced?
- Am I happy with my performance?
Consider getting feedback from teachers or peers. Sometimes a fresh set of ears can provide valuable insights.
By reflecting on your work, you can ensure that what you submit truly represents your best.
Conclusion
Mastering your audition recording doesn’t have to be an intimidating process. By choosing the right space, equipping yourself with essential tools, optimizing lighting, performing with confidence, and editing thoughtfully, you can create a recording that truly reflects your talent. Remember, TakeStage is here to support you every step of the way, helping you focus on what truly matters — your performance. Happy recording!
Leave a Reply