
You don’t need a big DSLR or production camera to make stunning iPhone audition videos. Your iPhone can deliver superior results for music auditions. We’ve seen countless musicians borrow bulky cameras that complicated everything, and we’ve watched smartphone tech evolve to deliver pro-level clarity and ease for performers.
Our founder’s audition video that helped earn a full scholarship to Idyllwild Arts, and eventually opened the door to the Juilliard School three years later, wasn’t recorded on expensive equipment. It was about capturing authentic musicianship with the best tools available at the time. Today, creating professional iPhone audition videos is as simple as pulling out your phone.
The DSLR Myth: More Gear Doesn’t Mean Better Results
Musicians used to rely on dedicated cameras for their “superior” sensors, but they required tripods, lighting rigs, and post-editing know-how. All of that added stress to already nerve-wracking audition sessions. We’ve seen the same story dozens of times: spending more time getting to the location, getting set up with camera, running wires, placing equipment and configuration settings than actually running through the musical pieces.
Early phone cameras were grainy and unreliable, but those days are long gone. Modern mobile phones have advanced stabilization, 4K resolution, and computational photography that rivals or beats older DSLRs (especially for the close-up performance shots that audition panels want to see). iPhone audition videos now match or exceed the quality of professional camera setups at a fraction of the cost and complexity.
Here’s what we’ve learned: simplicity beats complexity when you’re already managing the pressure of performing.
Why iPhone Cameras Excel for iPhone Audition Videos
1. The Back Camera is Your Best Friend
Try to use the back camera for your recordings. It has superior sensors, better low-light performance, and higher resolution than the front-facing camera. although the difference is shrinking with every new model, the back cameras still produce sharper details, more accurate colors, and that professional depth that makes your performance pop.
Yes, it means you can’t see yourself while recording, but that’s why you have another participant, a “Producer” in the call to help you set up and start/stop takes and guide the session. It forces you to focus on your playing rather than watching yourself on screen, leading to more natural, confident performances.
2. 4K Recording Captures Every Detail
Most audition panels want to see your technique clearly: finger positions, bow movements, embouchure details. iPhone’s 4K resolution provides that clarity without the file management nightmare of professional cinema cameras. You can zoom in during a cal and after in post without losing quality.
3. Automatic Settings That Actually Work
Unlike DSLRs that require manual exposure, ISO, and white balance adjustments, iPhones handle these automatically and intelligently. For most audition scenarios (well-lit practice rooms or studios), the iPhone nails it every time. You can focus on your music, not your camera settings.
Essential Setup for iPhone Audition Videos
Here’s a proven setup that’s worked for dozens of successful auditions.
You’ll need your iPhone (any model from iPhone 11 onward works beautifully), a basic tripod with phone mount ($15-30), good room lighting (natural window light or affordable LED panels), and an external microphone if you want to go that route (optional but recommended).
Position your camera at chest/face height, about 6-10 feet away depending on your instrument. You want your full instrument and upper body in frame. Use the back camera and enable 4K recording in Settings → Camera → Record Video.
Enable Wide Spectrum audio mode (Settings → Camera → Audio), or the iPhone app will remind you as you join the stage session, to capture the full frequency range of your instrument. This is crucial. Standard modes may utilize noise cancellation focusing on voice, and cancelling out important musical nuances or all together instrument sound like that of a acoustic guitar.
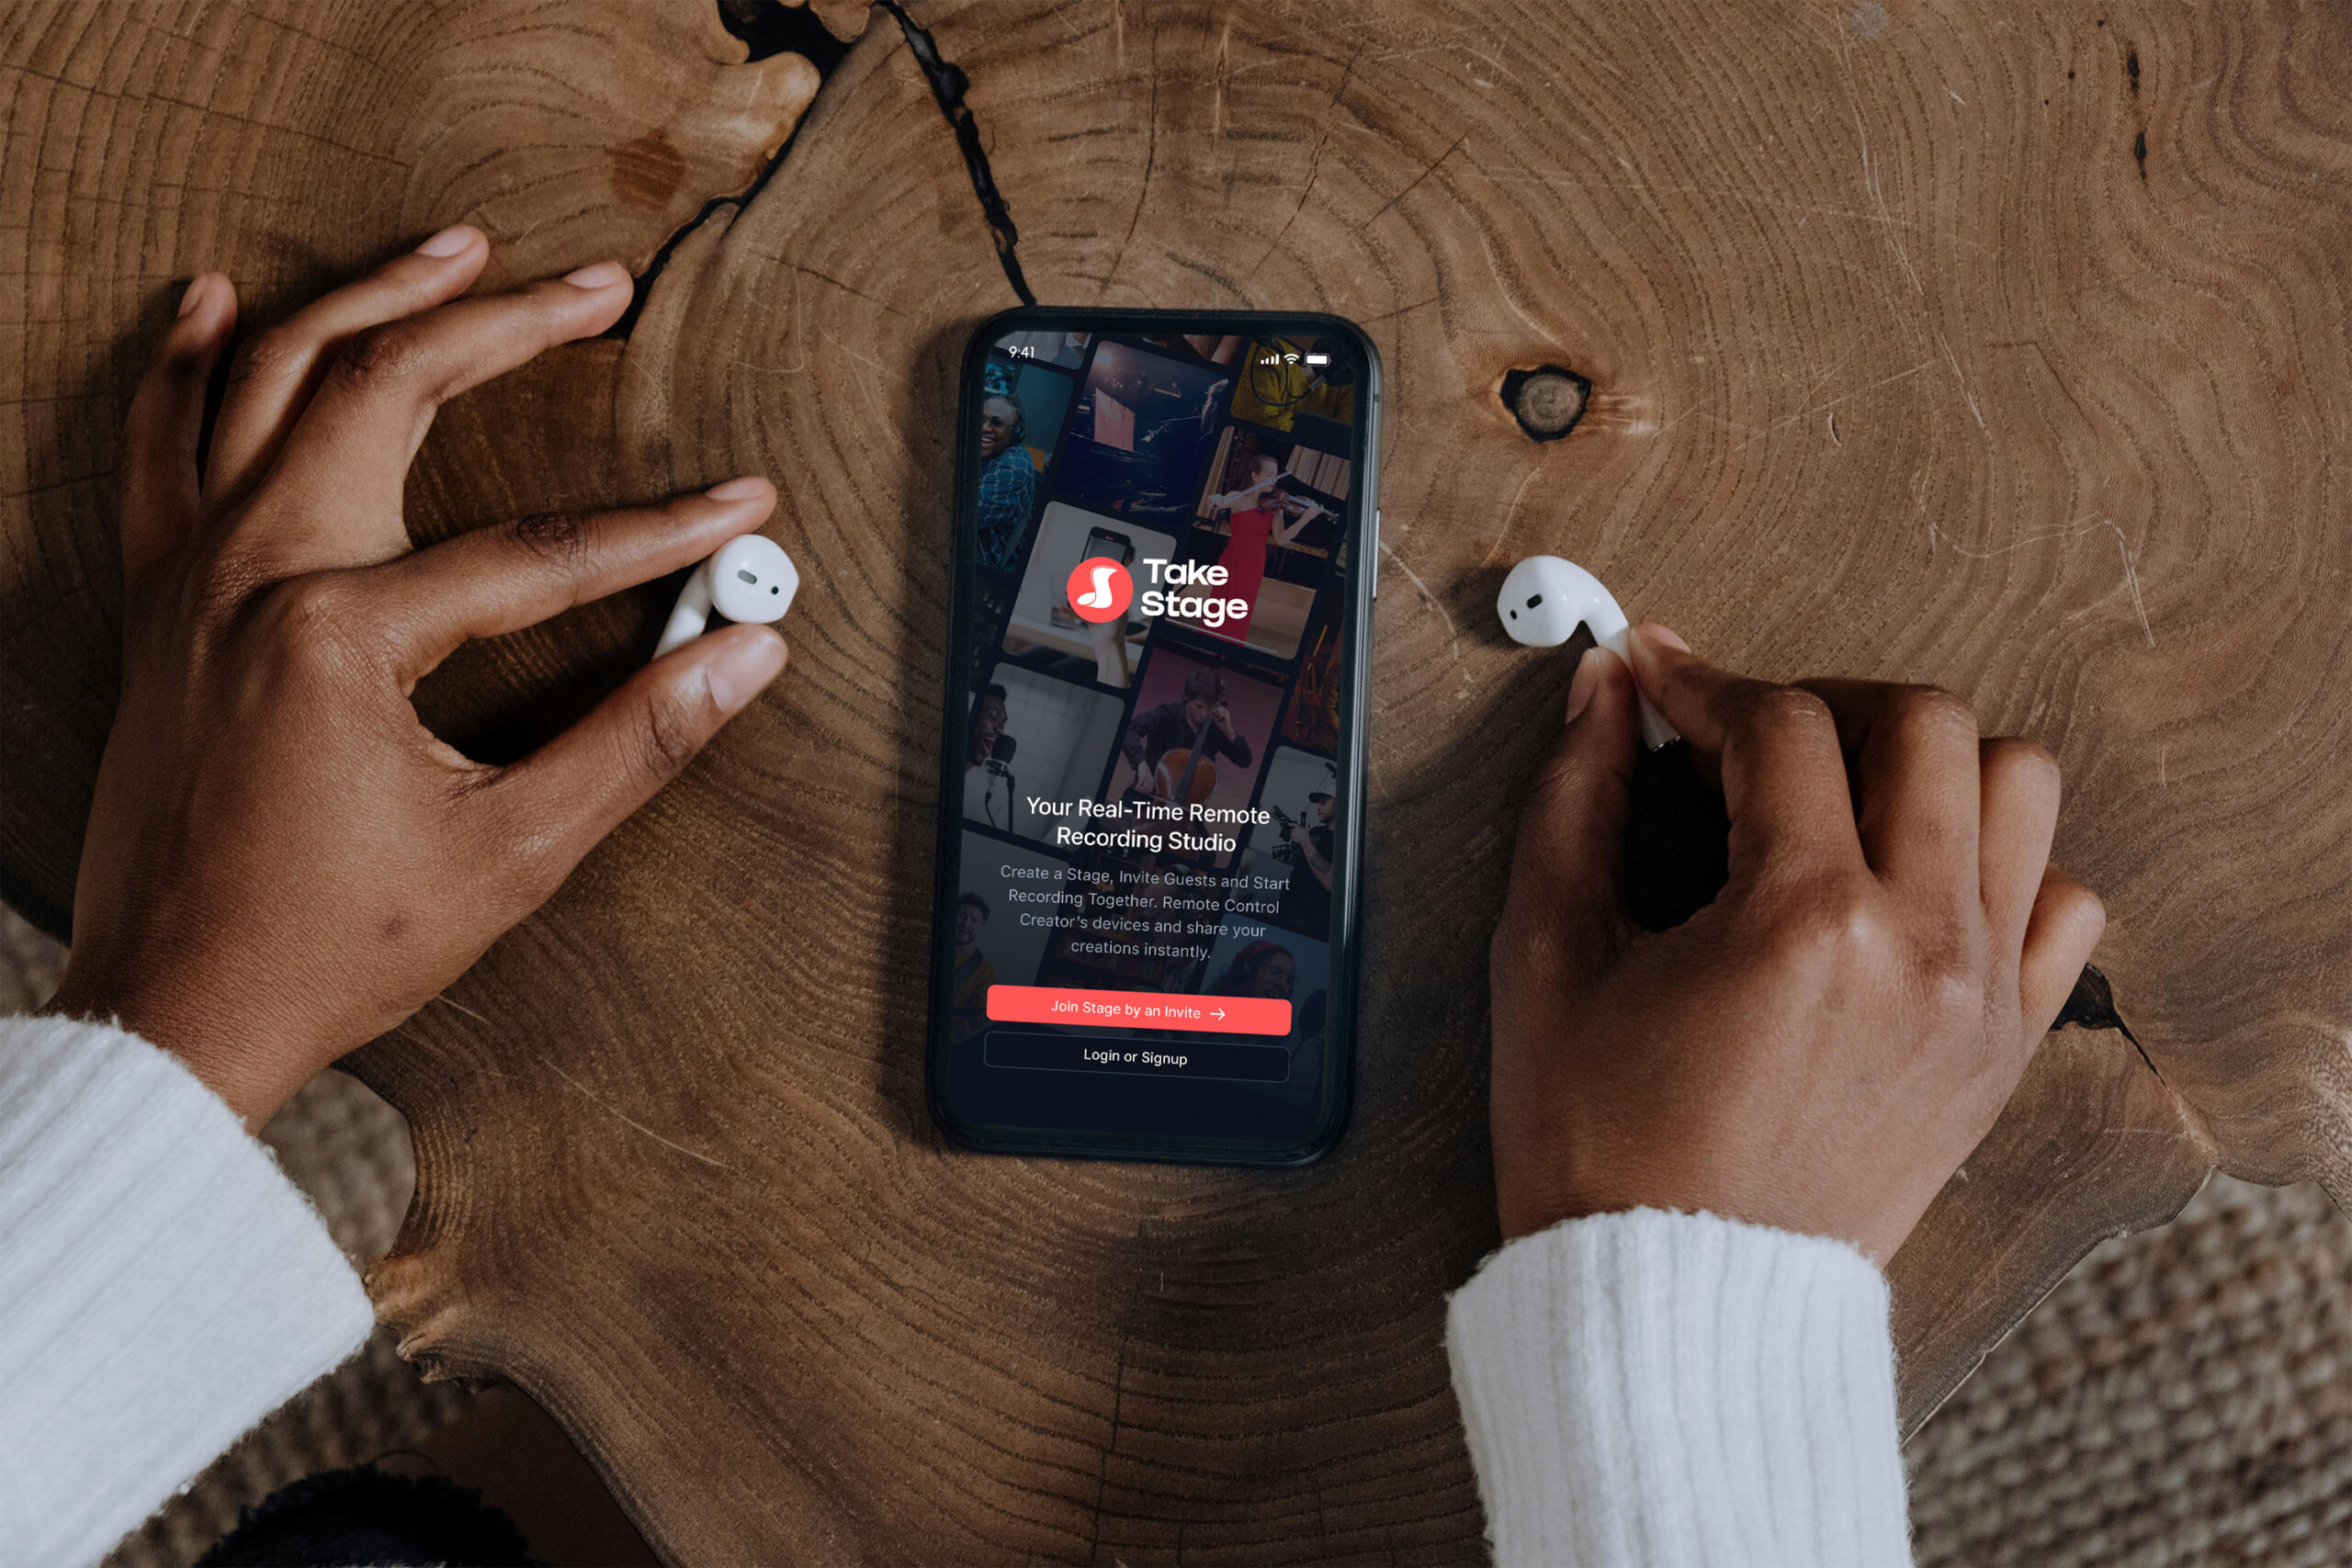
How TakeStage Takes This Further
In TakeStage, your iPhone becomes even more powerful. Remote Producers can control framing and focus live during your recording, turning your phone into a virtual studio without extra gear. They can monitor your audio levels in real-time, suggest camera angle adjustments between takes, and handle all the technical details while you focus on performing.
No more lugging heavy equipment or coordinating studio time. Set up at home, invite your teacher or recording engineer as a Producer, and record with studio-quality results.
The Audio Component: Don’t Let Your iPhone’s Mic Hold You Back
Here’s the one area where your iPhone needs help. While the camera is exceptional, the built-in microphone is optimized for phone calls, not musical performances. Even with Wide Spectrum mode enabled, you’ll get better results with an external mic.
The good news? You don’t need to break the bank. Check out our complete guide on the best microphones for auditions for detailed reviews and comparisons.
Budget-Friendly Options:
Your iPhone’s Built-In Mic with Wide Spectrum (Free)
For practice recordings and informal submissions, this actually works better than most people think. Just make sure you enable Wide Spectrum mode (Settings → Camera → Audio), position the phone 3-5 feet from your instrument, and record in a quiet room with minimal echo.
This captures great spacial audio with all the important frequencies intact (avoiding that compressed, voice isolation setting that excludes crucial musical details).
Step-Up Option:
DJI Mic 2 ($200-300)
If you’re serious about audition recordings, this wireless microphone system pairs perfectly with your iPhone. It offers true wireless convenience (no cables during performance), stereo capability for spatial depth, high-fidelity capture that rivals studio mics, and easy magnetic mounting options.
Place the wireless transmitters 3-5 feet from your instrument(s), connect the receiver to your iPhone’s lightning or USB-C port, and you’ve got professional-grade audio to match your video.
Professional Option:
Audio-Technica AT4050 with USB-C Interface ($700-1000 total)
For the highest fidelity, pair a professional condenser mic like the AT4050 with a compact interface (Focusrite Scarlett or MOTU M2). Modern interfaces connect directly to iPhones via USB-C, giving you studio-quality audio in a portable package.
This is overkill for most auditions, but if you’re applying to top conservatories or major competitions, the investment shows in the recording quality.
Real-World Comparison: iPhone vs. DSLR for Conservatory Pre-Screenings
Let us share a concrete example. For a Juilliard pre-screening, we tested two recording approaches: one on a borrowed Canon 5D Mark III (a $2,500 camera at the time) and one on an iPhone 12 Pro.
The DSLR setup required a separate audio recorder synced in editing. Manual focus that had to be adjusted between takes. 45 minutes of setup and testing. File transfer via SD card reader. Color grading needed in post-production.
The iPhone setup? External mic plugged directly in. Automatic focus and exposure that just worked. 10 minutes of setup. AirDrop to laptop for editing. Footage looked great straight out of camera.
Which one got submitted? The iPhone recording. It was sharper, the audio sync was perfect, and most importantly, there was no stress about technical issues when the focus needed to be on performing.
Common Mistakes in iPhone Audition Videos (And How to Avoid Them)
Using the Front Camera
We get it, you want to see yourself. But the quality difference is noticeable. Use the back camera and don’t forget to use either fiber or cotton cloths to wipe of those finger prints of the lenses to avoid that washed out dirty lens look.
Forgetting Wide Spectrum Mode
This is the most common mistake we see. Voice Isolation and Standard audio mode may filter out frequencies outside the human voice range. For instruments, this is disastrous. Always enable Wide Spectrum.
Recording in Poor Lighting
Your iPhone can handle a lot, but it’s not magic. Avoid backlighting (windows behind you) and record in a well-lit space. Natural daylight from the side is ideal.
Holding the Phone Instead of Using a Tripod
Even minor hand movements create noticeable shake. A stable shot looks infinitely more professional.
Filling the Frame Too Tightly
Give yourself breathing room. Audition panels want to see your full instrument, your posture, and your physical technique. Frame wide enough to show your entire upper body and instrument with a little space around the edges.
The Liberation of Simple Gear
This shift from complex camera rigs to iPhone-based recording has simplified practice routines and boosted confidence for musicians everywhere. When recording is as simple as pulling out your phone, you actually do it. And that means more takes, better practice habits, and ultimately stronger submissions.
We’ve seen successful audition videos recorded in practice rooms, living rooms, even outdoor courtyards. The consistency and reliability of the iPhone means musicians can focus their mental energy where it matters: on the music.
Your iPhone Audition Videos Checklist
Ready to record your next audition on iPhone? Here’s your simple workflow:
Check storage: Make sure your phone has at least 5 GB of free storage space (enough for 1 hour of high quality recording) before starting a recording.
Turn off notifications: Go to “Do Not Disturb” on your iPhone to prevent notification sounds from being picked up by the mic (although normally the app will try to own-produced sounds out).
Connect to Wi-Fi: Ensure you have a strong, stable Wi-Fi connection for optimal connectivity during a recording session (note that loosing signal or experiencing a bit of congestion will not interfere with the recording itself; the app will reconnect, adopt and recordings will safely synchronize after the recording session).
Take a deep breath. Record multiple takes (you’ll be glad you did). Review the takes, check audio fidelity and framing.
After recording, have the remote “Producer” review your takes, choose the best and figure out which need a little retouching.
The Future is Already Here
The technology in your pocket is powerful enough to launch music careers. That might sound like marketing hype, but we’ve seen it happen. The barriers to creating professional iPhone audition videos have never been lower.
You don’t need a production crew, a recording studio, or thousands of dollars in equipment. You need a decent practice space, a $20 tripod, your iPhone, and preferably a friend who can remotely hit record – it’s always more fun to record together.
Creating high-quality iPhone audition videos is all you need to shine in today’s digital auditions. The quality of your performance matters far more than the camera you’re using. And when you’re ready to take it to the next level with remote coaching and cloud collaboration, TakeStage is here to help you every step of the way.
Leave a Reply